Along with all of the new features announced for iPhones, iPads, and the Mac, Apple also introduced more privacy and security features to keep your devices and accounts secure. This includes the introduction of iCloud+ which brings perks such as Private Relay and Hide My Email. However, another new feature was introduced but has been limited in functionality, and that is the ability to use a custom email domain with iCloud Mail.
What Is a Custom Email Domain and Why Would You Use One?
Custom email domains are particularly useful for those who own their own businesses, as it provides a way to make your business seem more legitimate. Another big reason why you might want to use a custom email domain is for flexibility. Instead of having emails sent to a specific registrar that you don’t own, you can create an email address that will stick with you for as long as you want to use it. There’s also a bit of personalization that may be appealing to have, compared to trying to get the “right” email address with another service.
How To Set up Custom Email Domains With iCloud Mail
Before Getting Started
While it’s great to be able to set up and use custom email domains with iCloud Mail, there are a few things to be aware of first. Apple provides a list of the different requirements that you need to fulfill before you can proceed with setting up custom email domains with iCloud Mail:
You must own a custom domain.
Using a custom domain requires a paid iCloud+ storage plan, starting at $0.99 per month.
Two-factor Authentication is enabled for your Apple ID.
Your primary iCloud Mail email address must be set up to use a custom email domain.
If you want to share the domain with a family, you need to have Family Sharing enabled within the iCloud settings of your account. Additionally, each family member must have two-factor authentication enabled for their primary accounts.
If you are someone who does not currently own a domain but wants to use custom email addresses with iCloud Mail, you’re not out of luck. There are a few services that make it quick and easy to purchase domains, and here are our favorites:
Hover – Our focus is on making it easy to find and register the perfect domain and providing you with the tools you need to manage your domains, email and DNS with ease. It’s what we do – so you can focus on what you do.
Google Domains – Choose from more than 300 domain endings. Get 24/7 Google support from real humans.
Namecheap – Register a domain name and create your online identity. Use our advanced domain name generator to get your ideal choice right away. Already have a domain registered somewhere else? No problem
Add a Custom Domain on iCloud.com
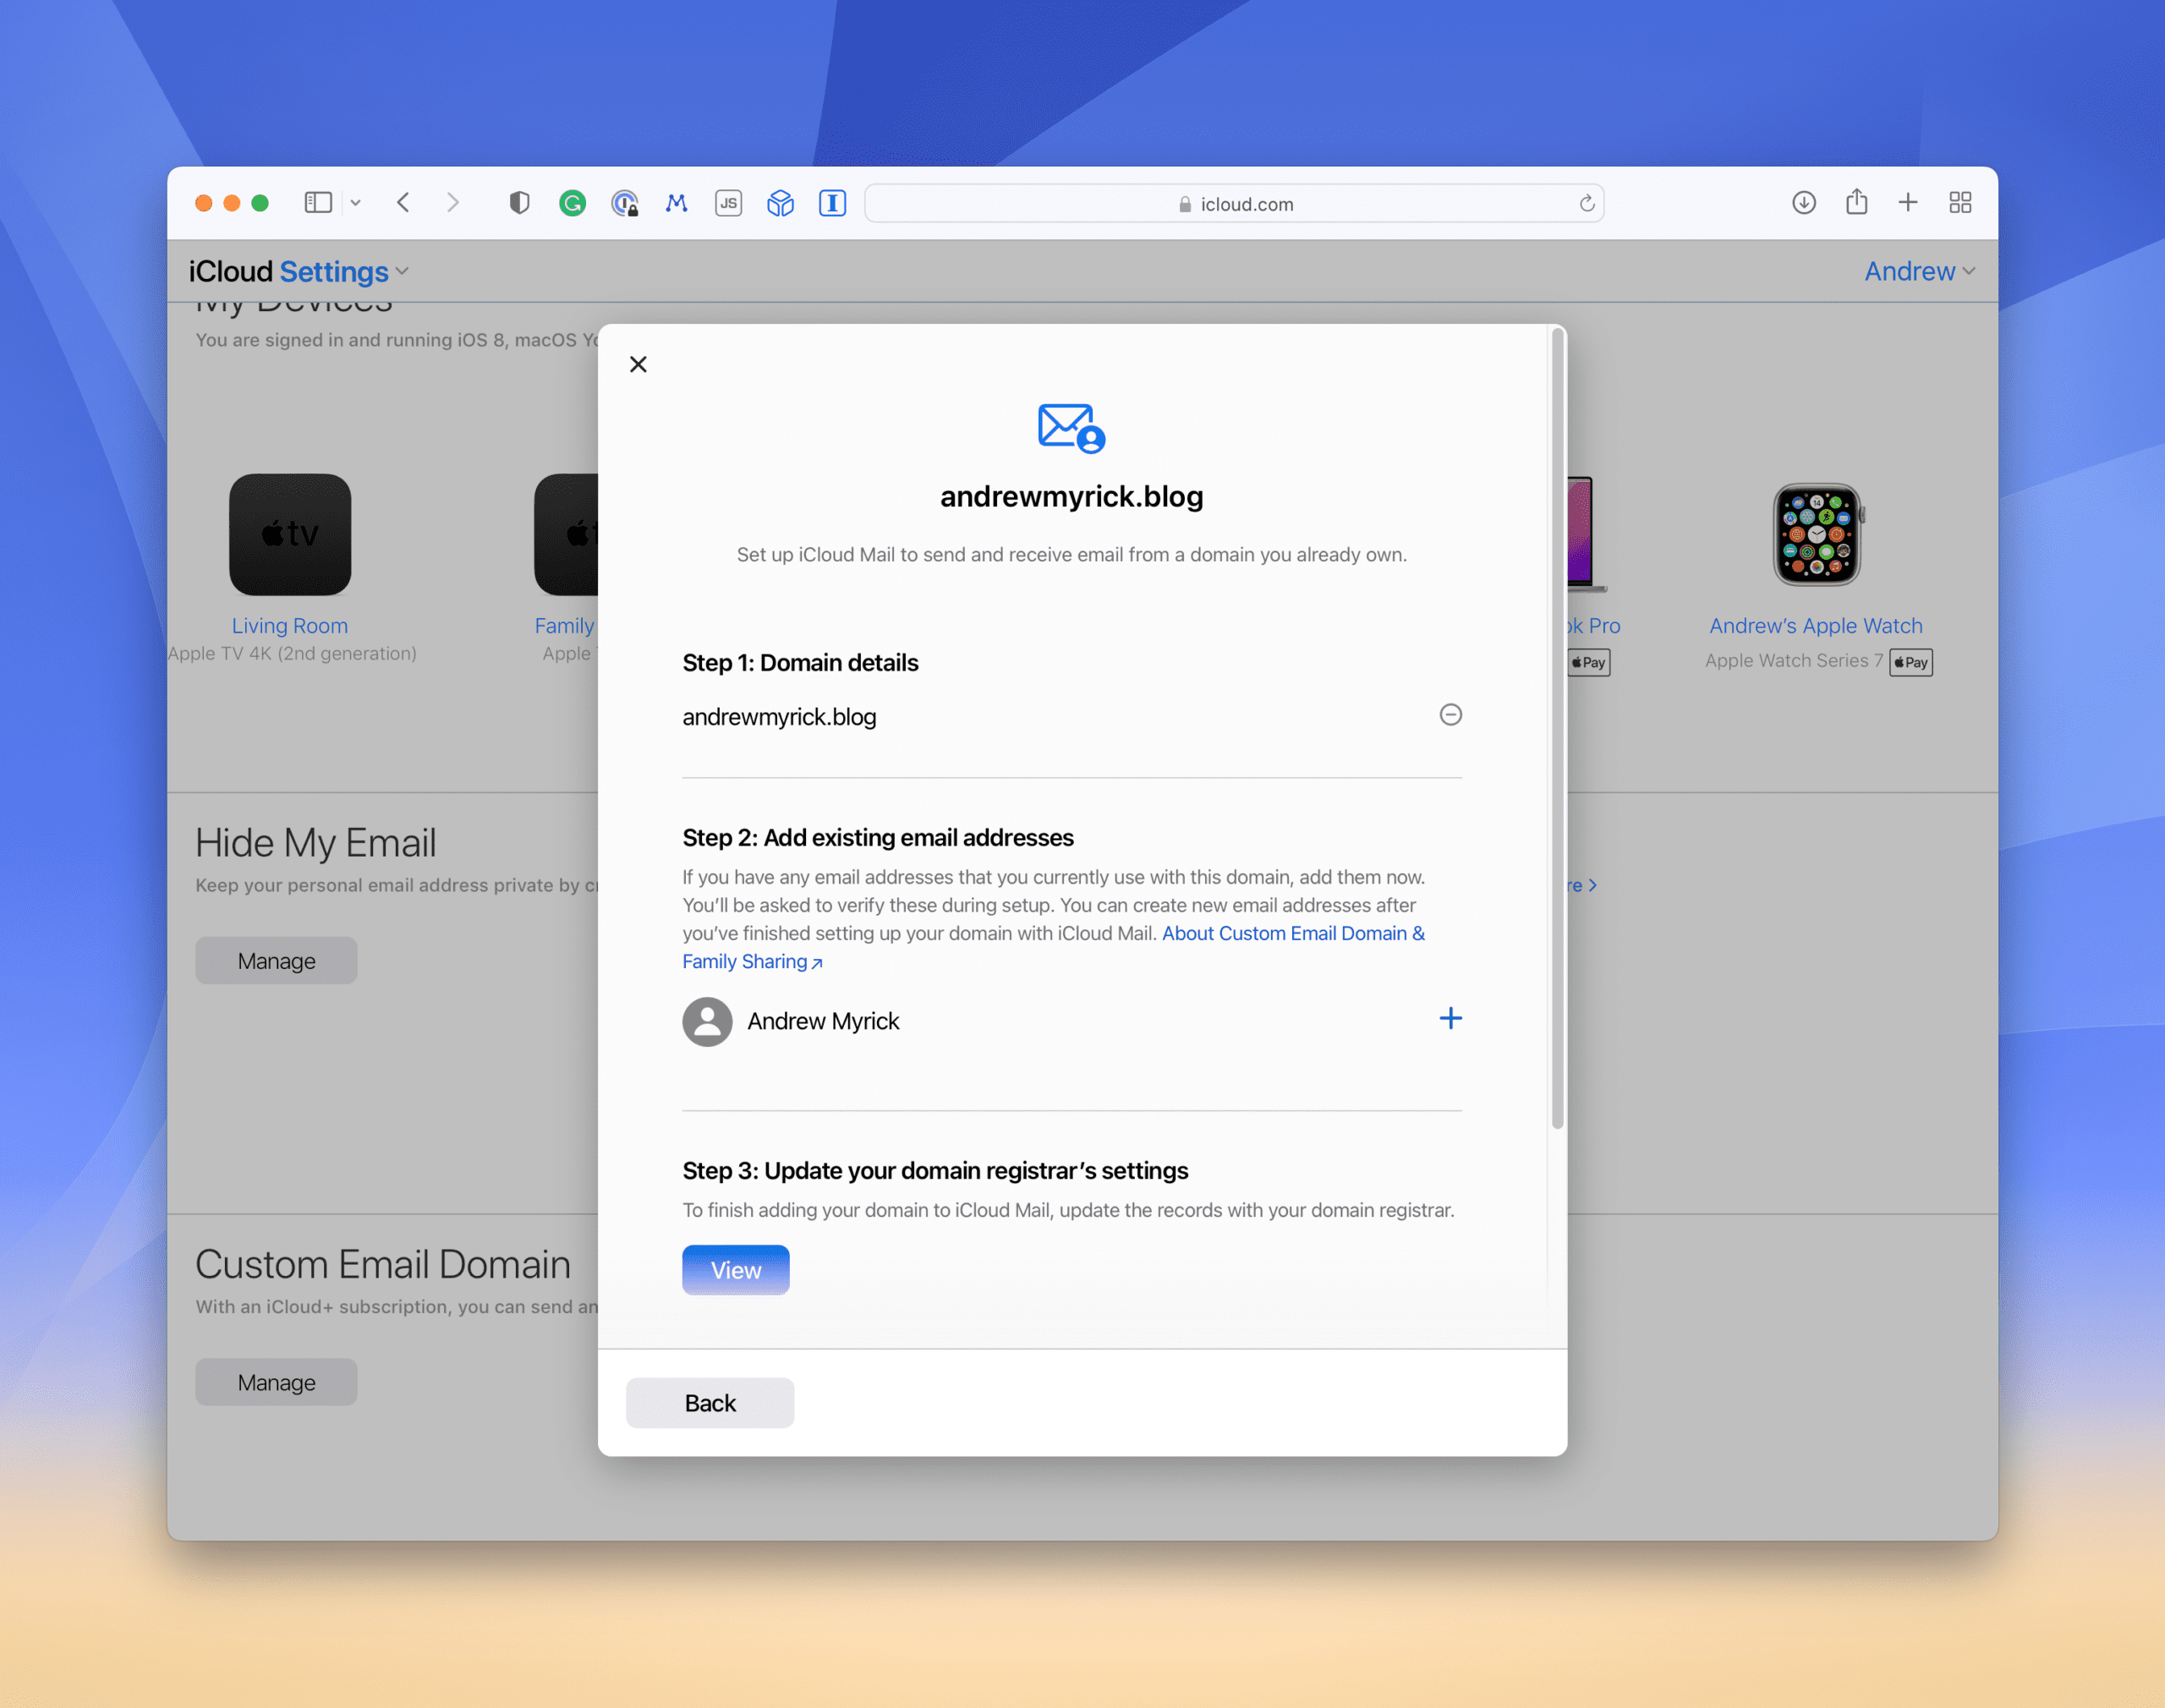
Once you have fulfilled Apple’s requirements for setting up a custom email domain with iCloud Mail, there are two different ways for you to proceed. Until the release of iOS 15.4 and iPadOS 15.4, the only option users had was to add the custom domain using iCloud.com. This is still a great option for those who prefer to use a computer instead of their iPhone or iPad to go through the setup process.
Here’s how you can add a custom domain using iCloud.com:
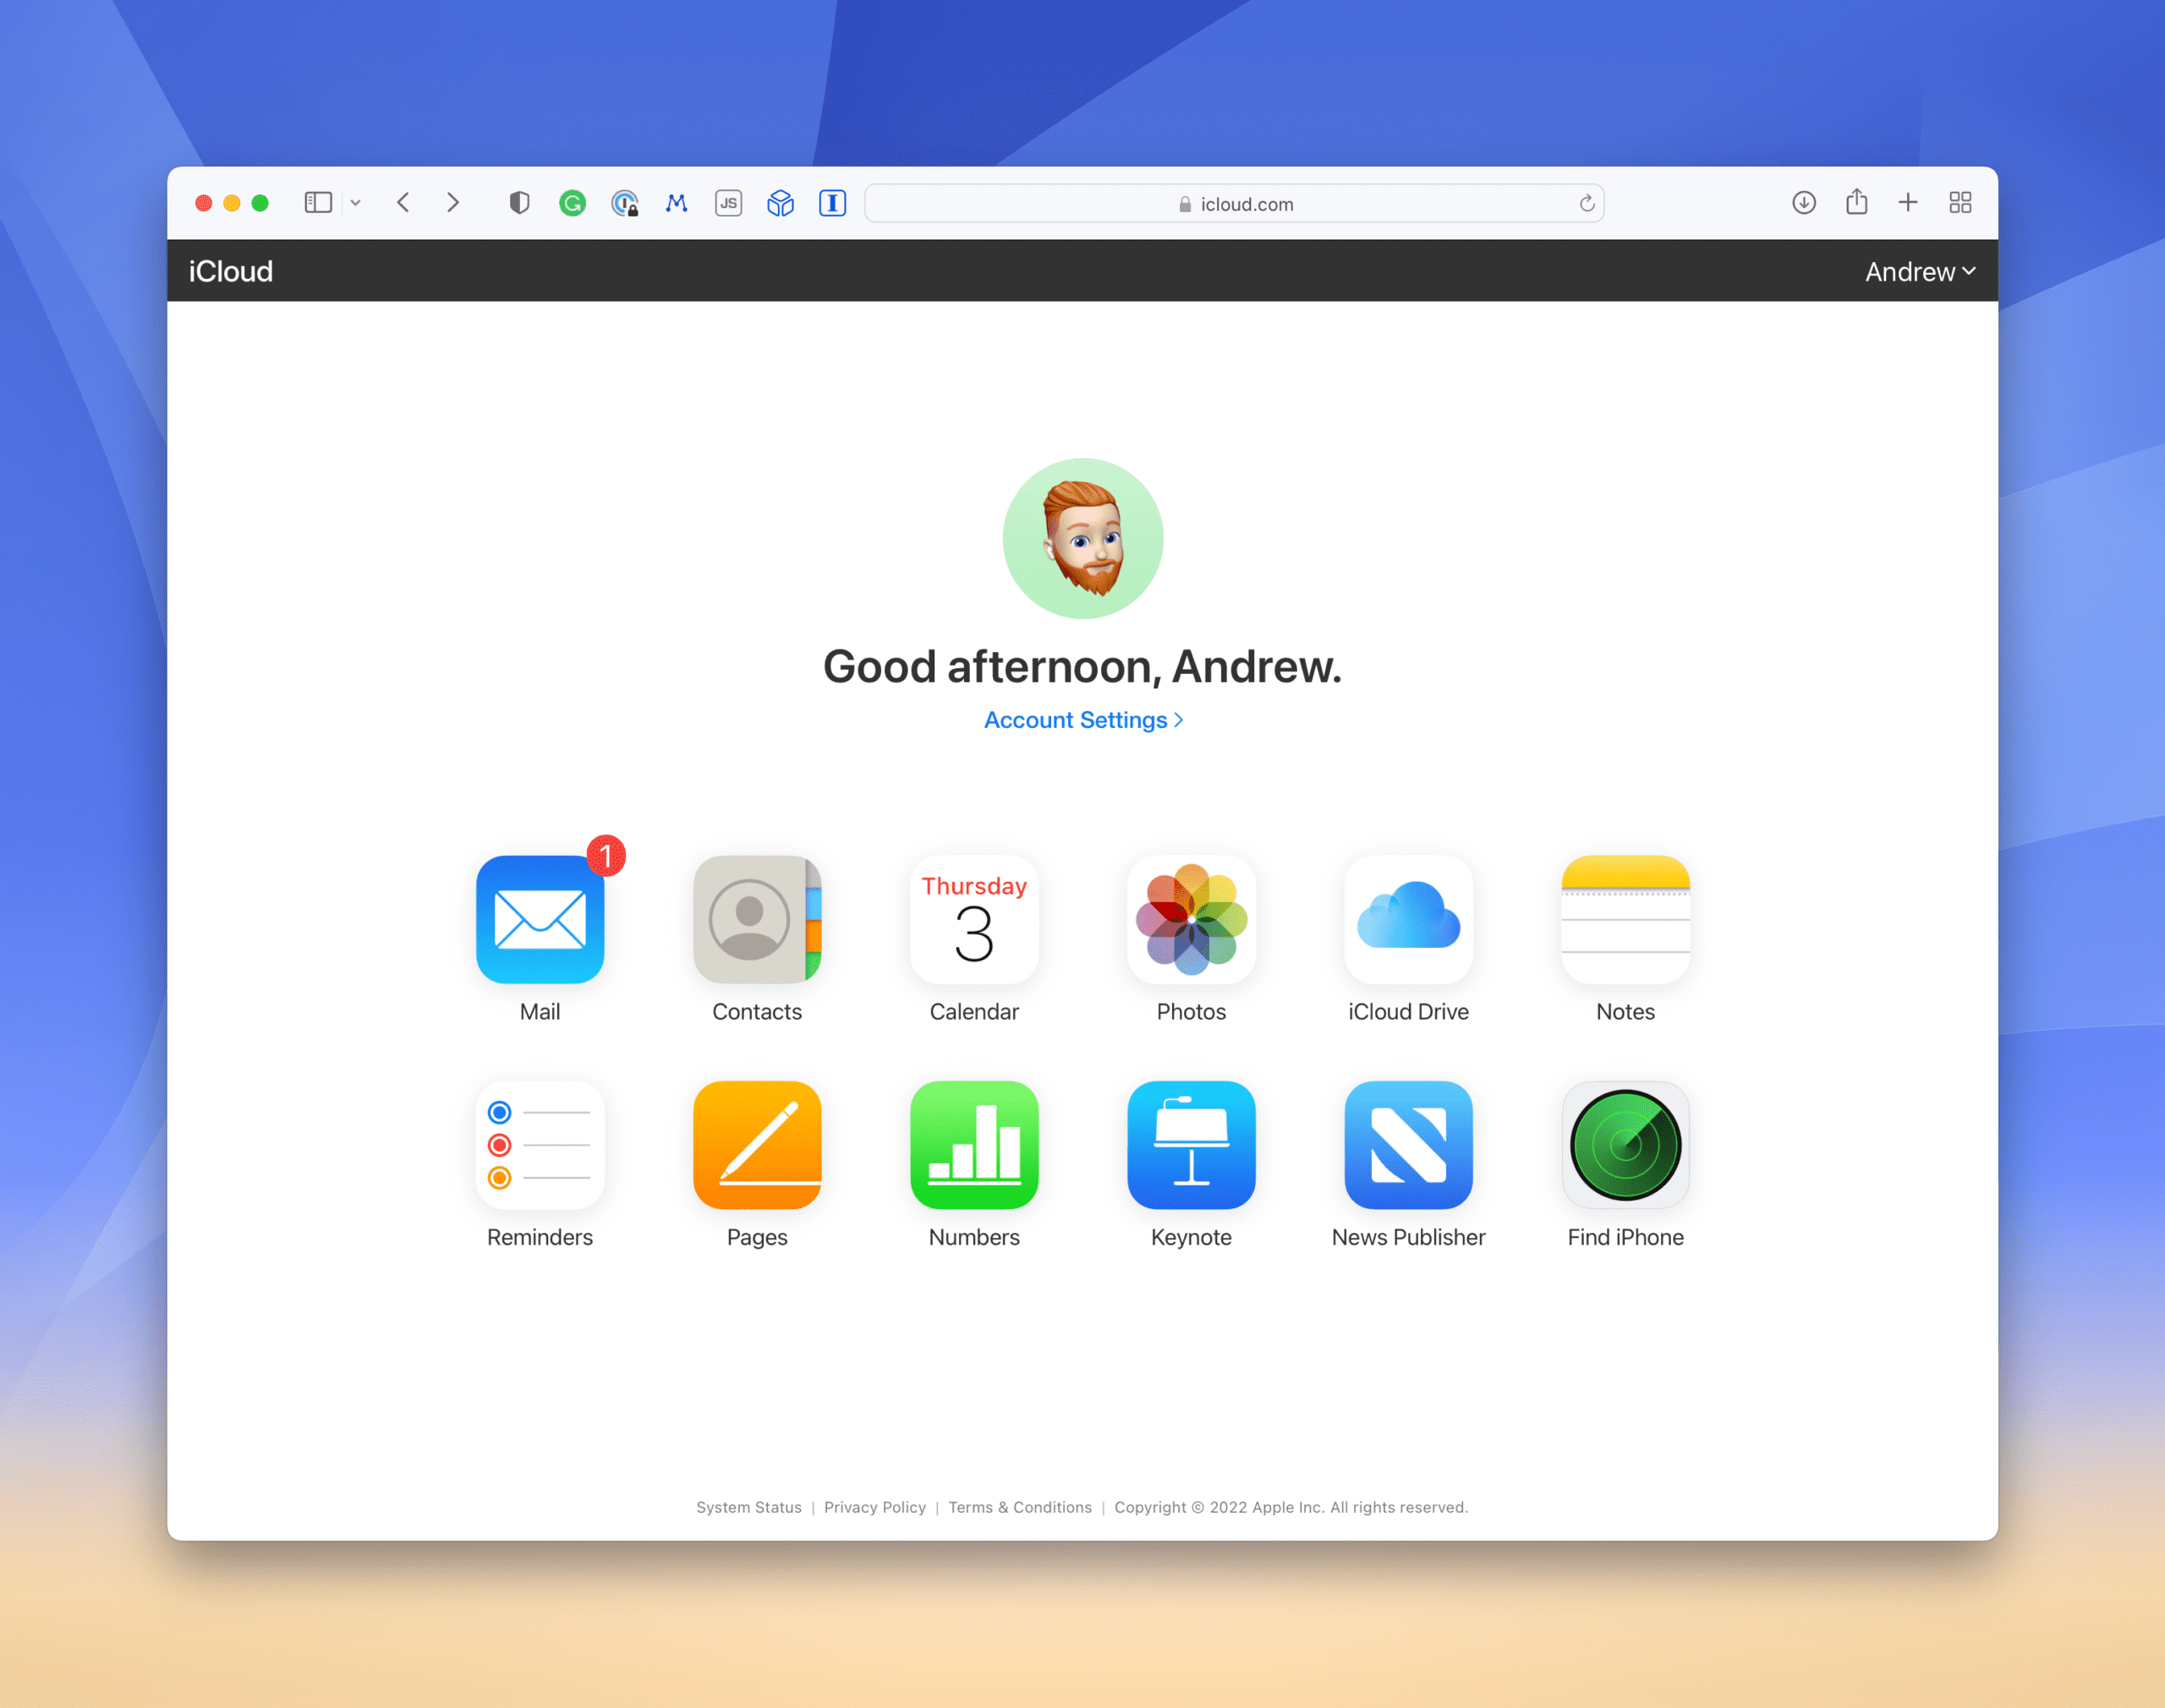
Navigate to iCloud.com from your browser of choice.
Log in with your Apple ID information.
Click Account Settings near the top of the page.
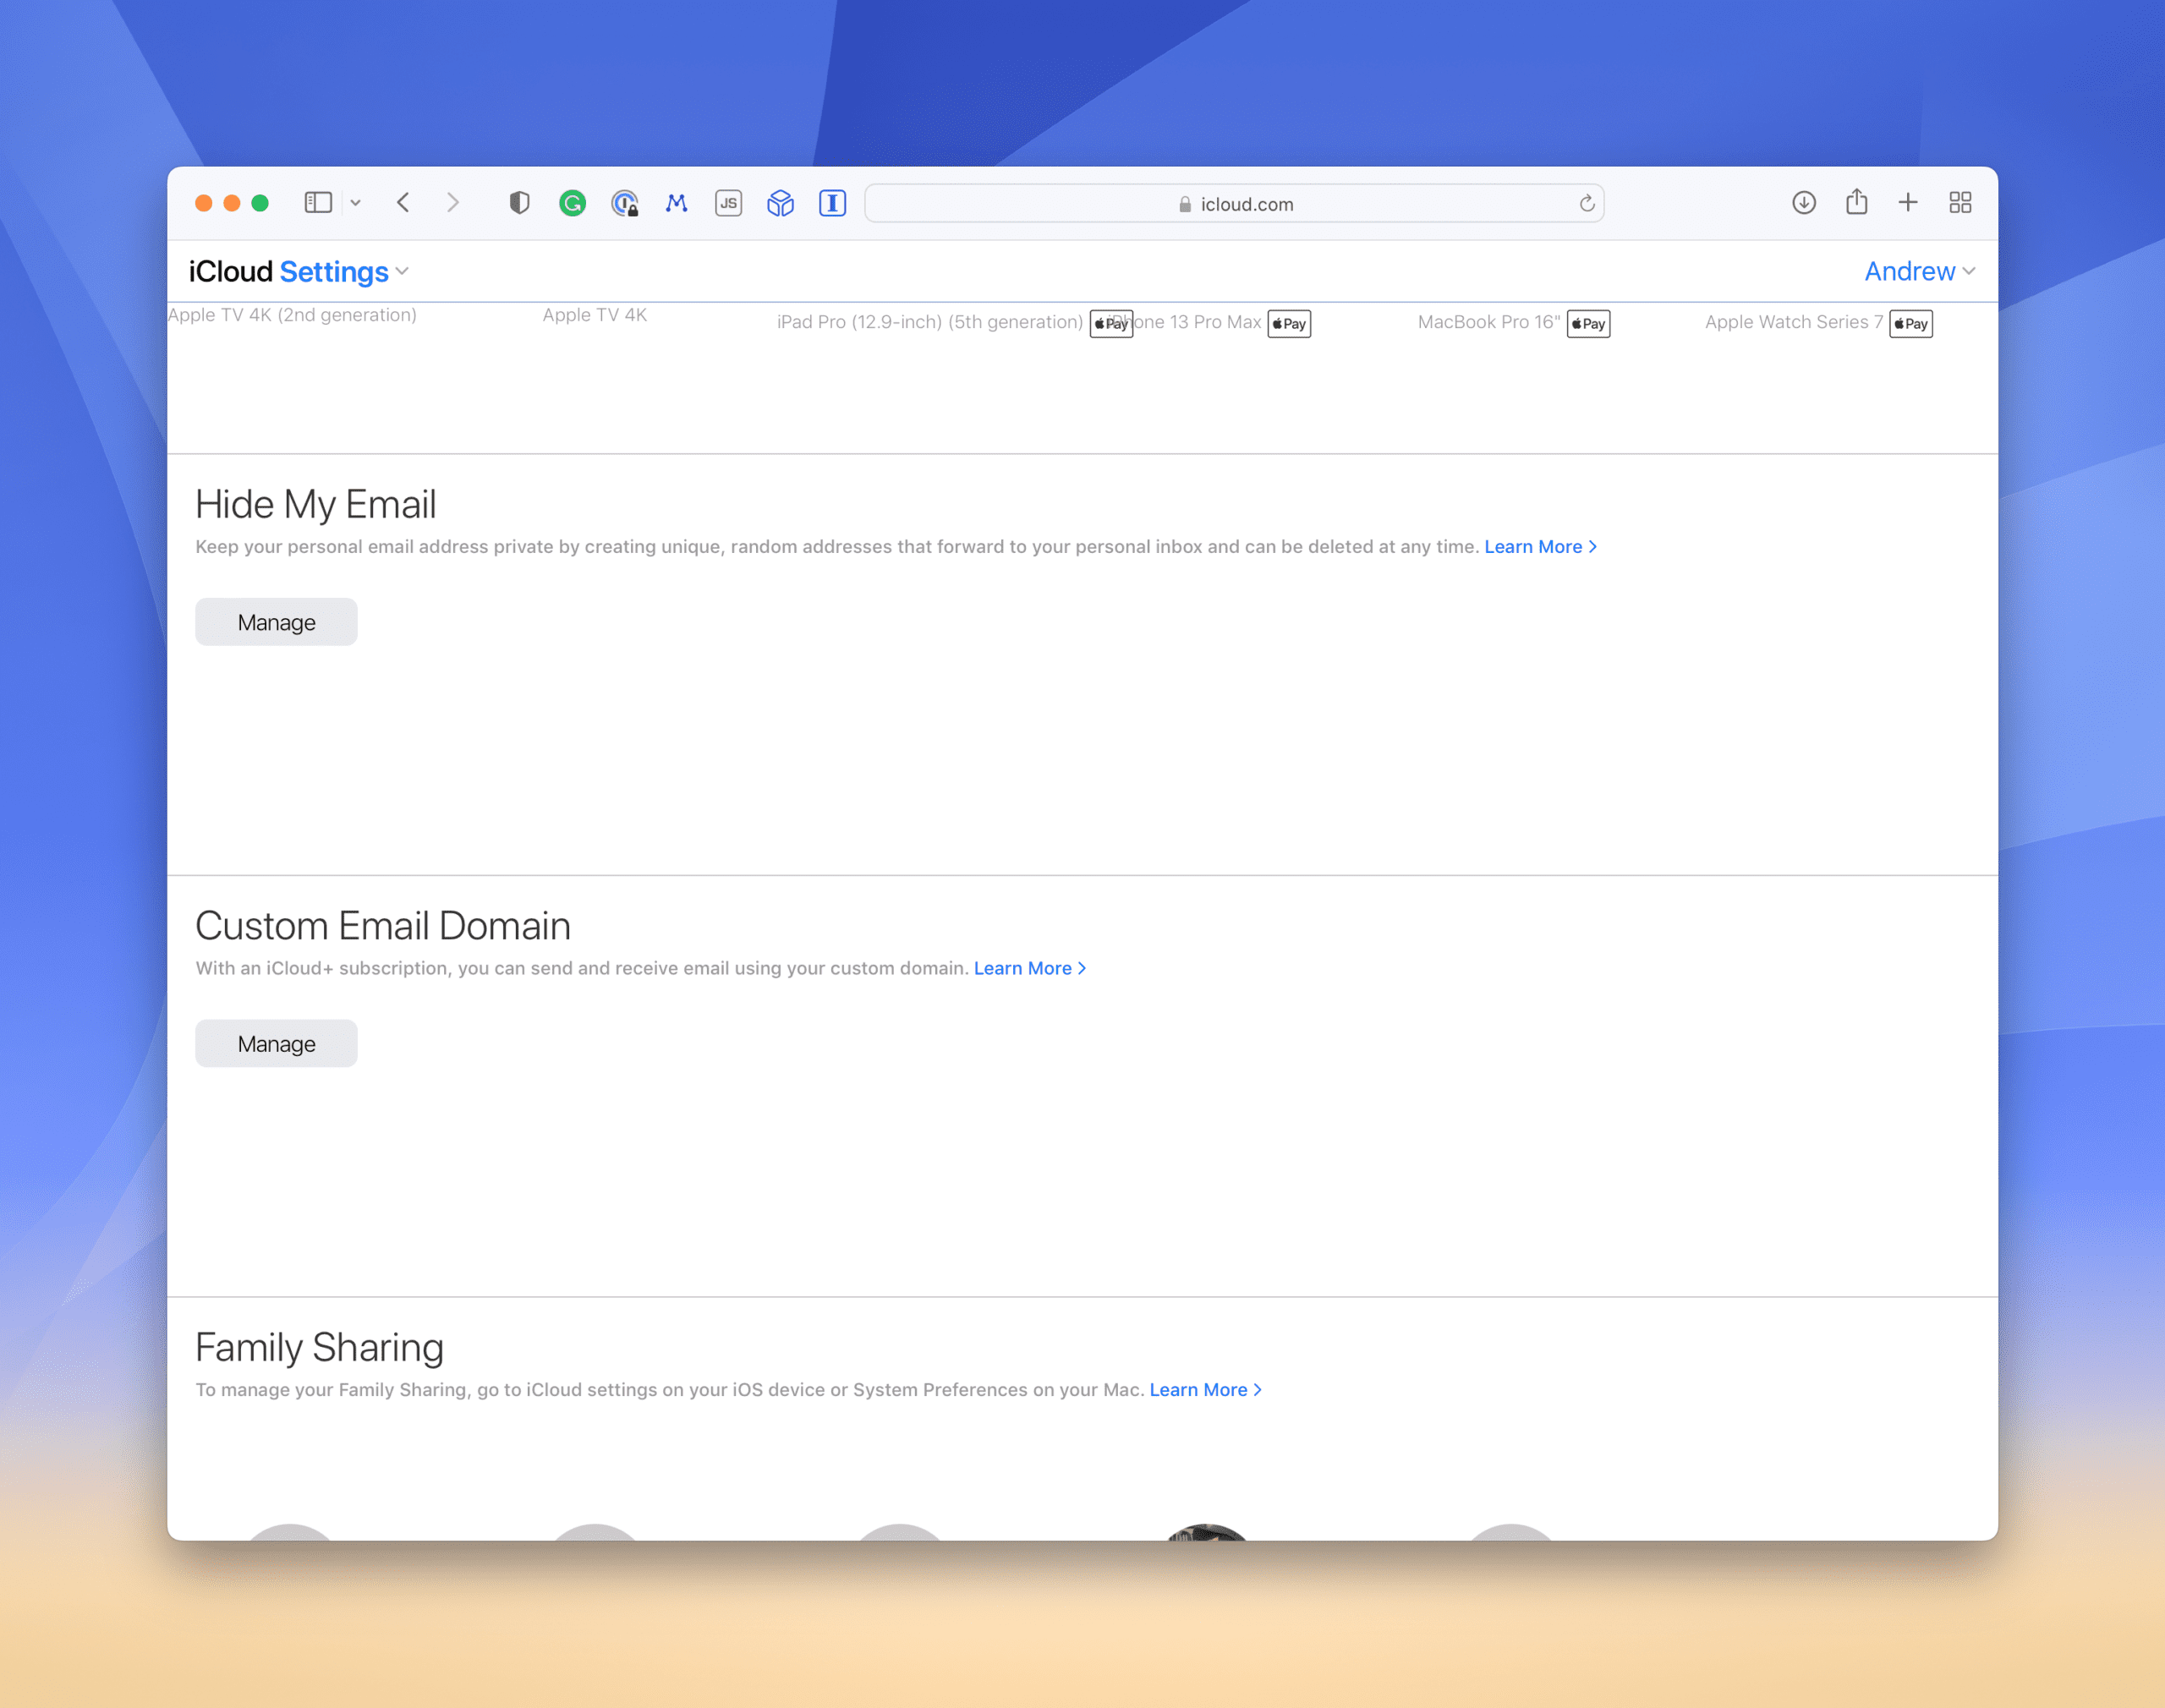
Scroll down and click Manage under Custom Email Domain.
Select one of the following options:
Only You – You are the only person using this domain and any associated email addresses. Your family members will not be able to add email addresses to this domain.
You and Your Family – You and members of your family are using this domain and associated email addresses.
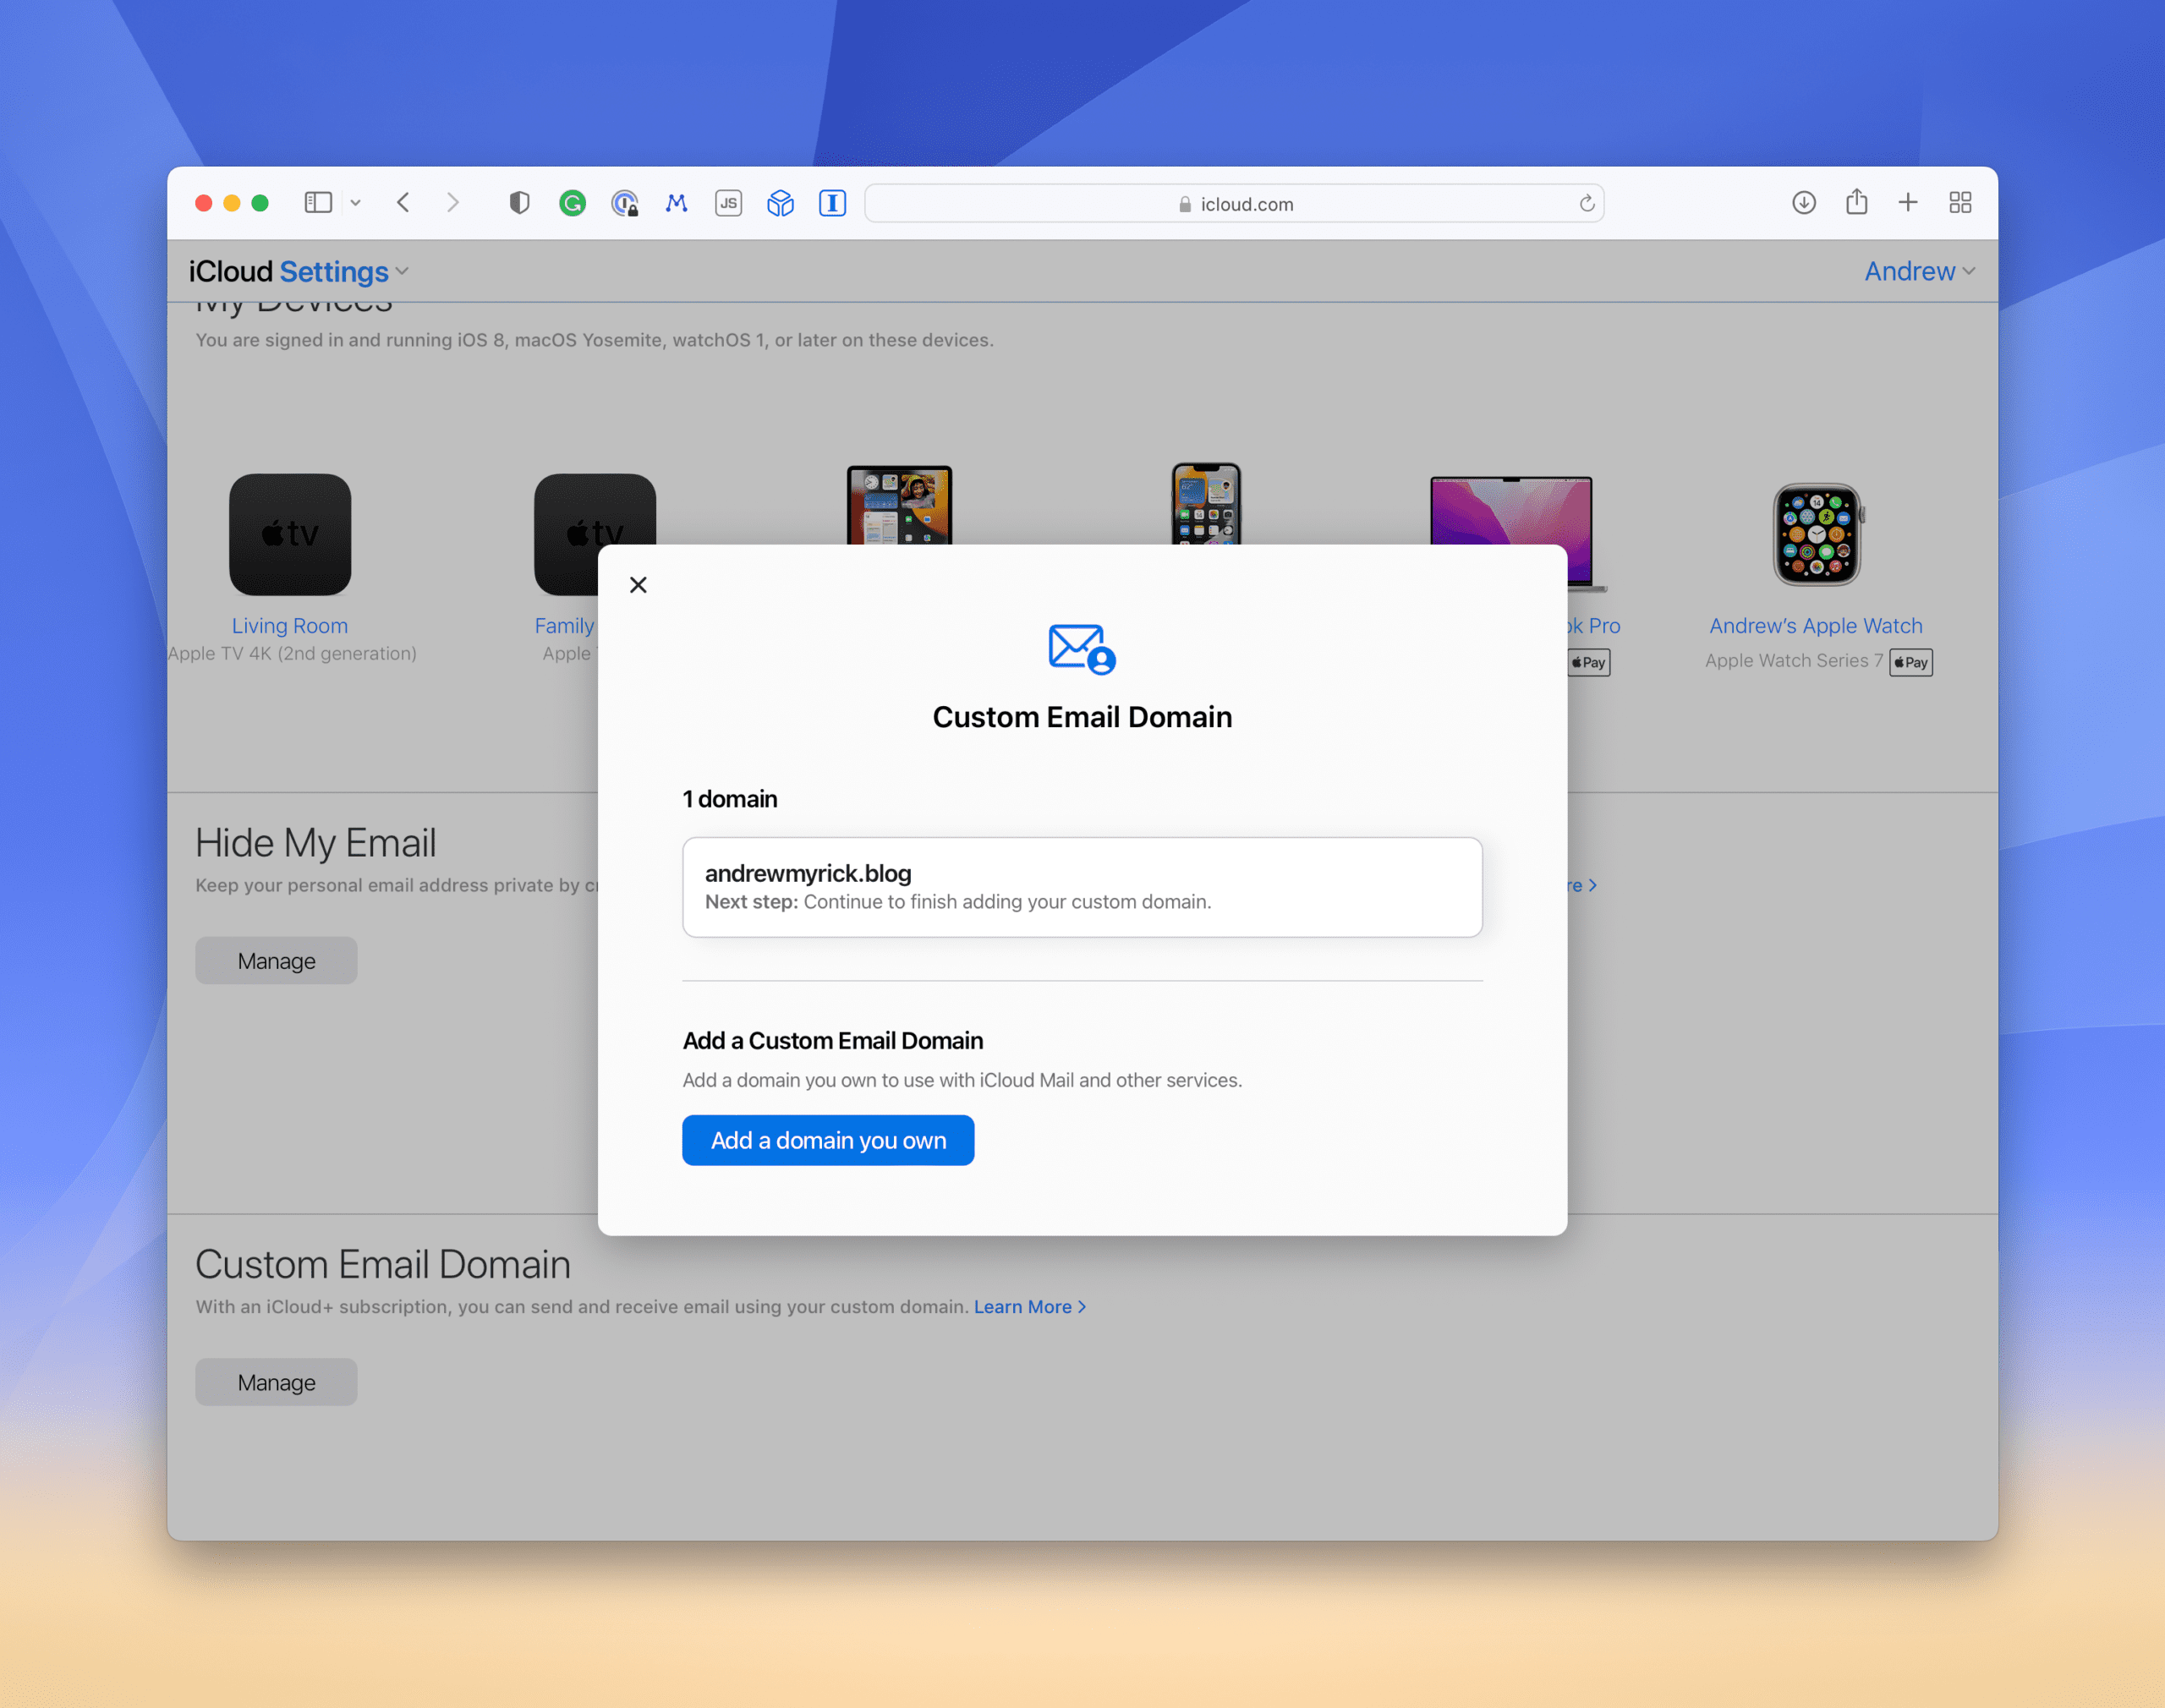
Enter the domain that you want to use and click Continue.
Follow the on-screen steps to finish setting up iCloud Mail to use your domain.
Throughout the process, you may receive emails notifying you that changes are being made to your account. These not only provide a bit of a warning if someone other than you is accessing your account but there are also steps included to continue the process if you are interrupted.
Add a Custom Domain on iPhone or iPad
With the release of iOS 15.4 and iPadOS 15.4, Apple has finally made it possible for you to add and use a custom email domain with iCloud Mail from your devices. The process is almost identical to the steps listed above but is slightly stream-lined since you are using a mobile device. Here’s how you can do get everything set up:
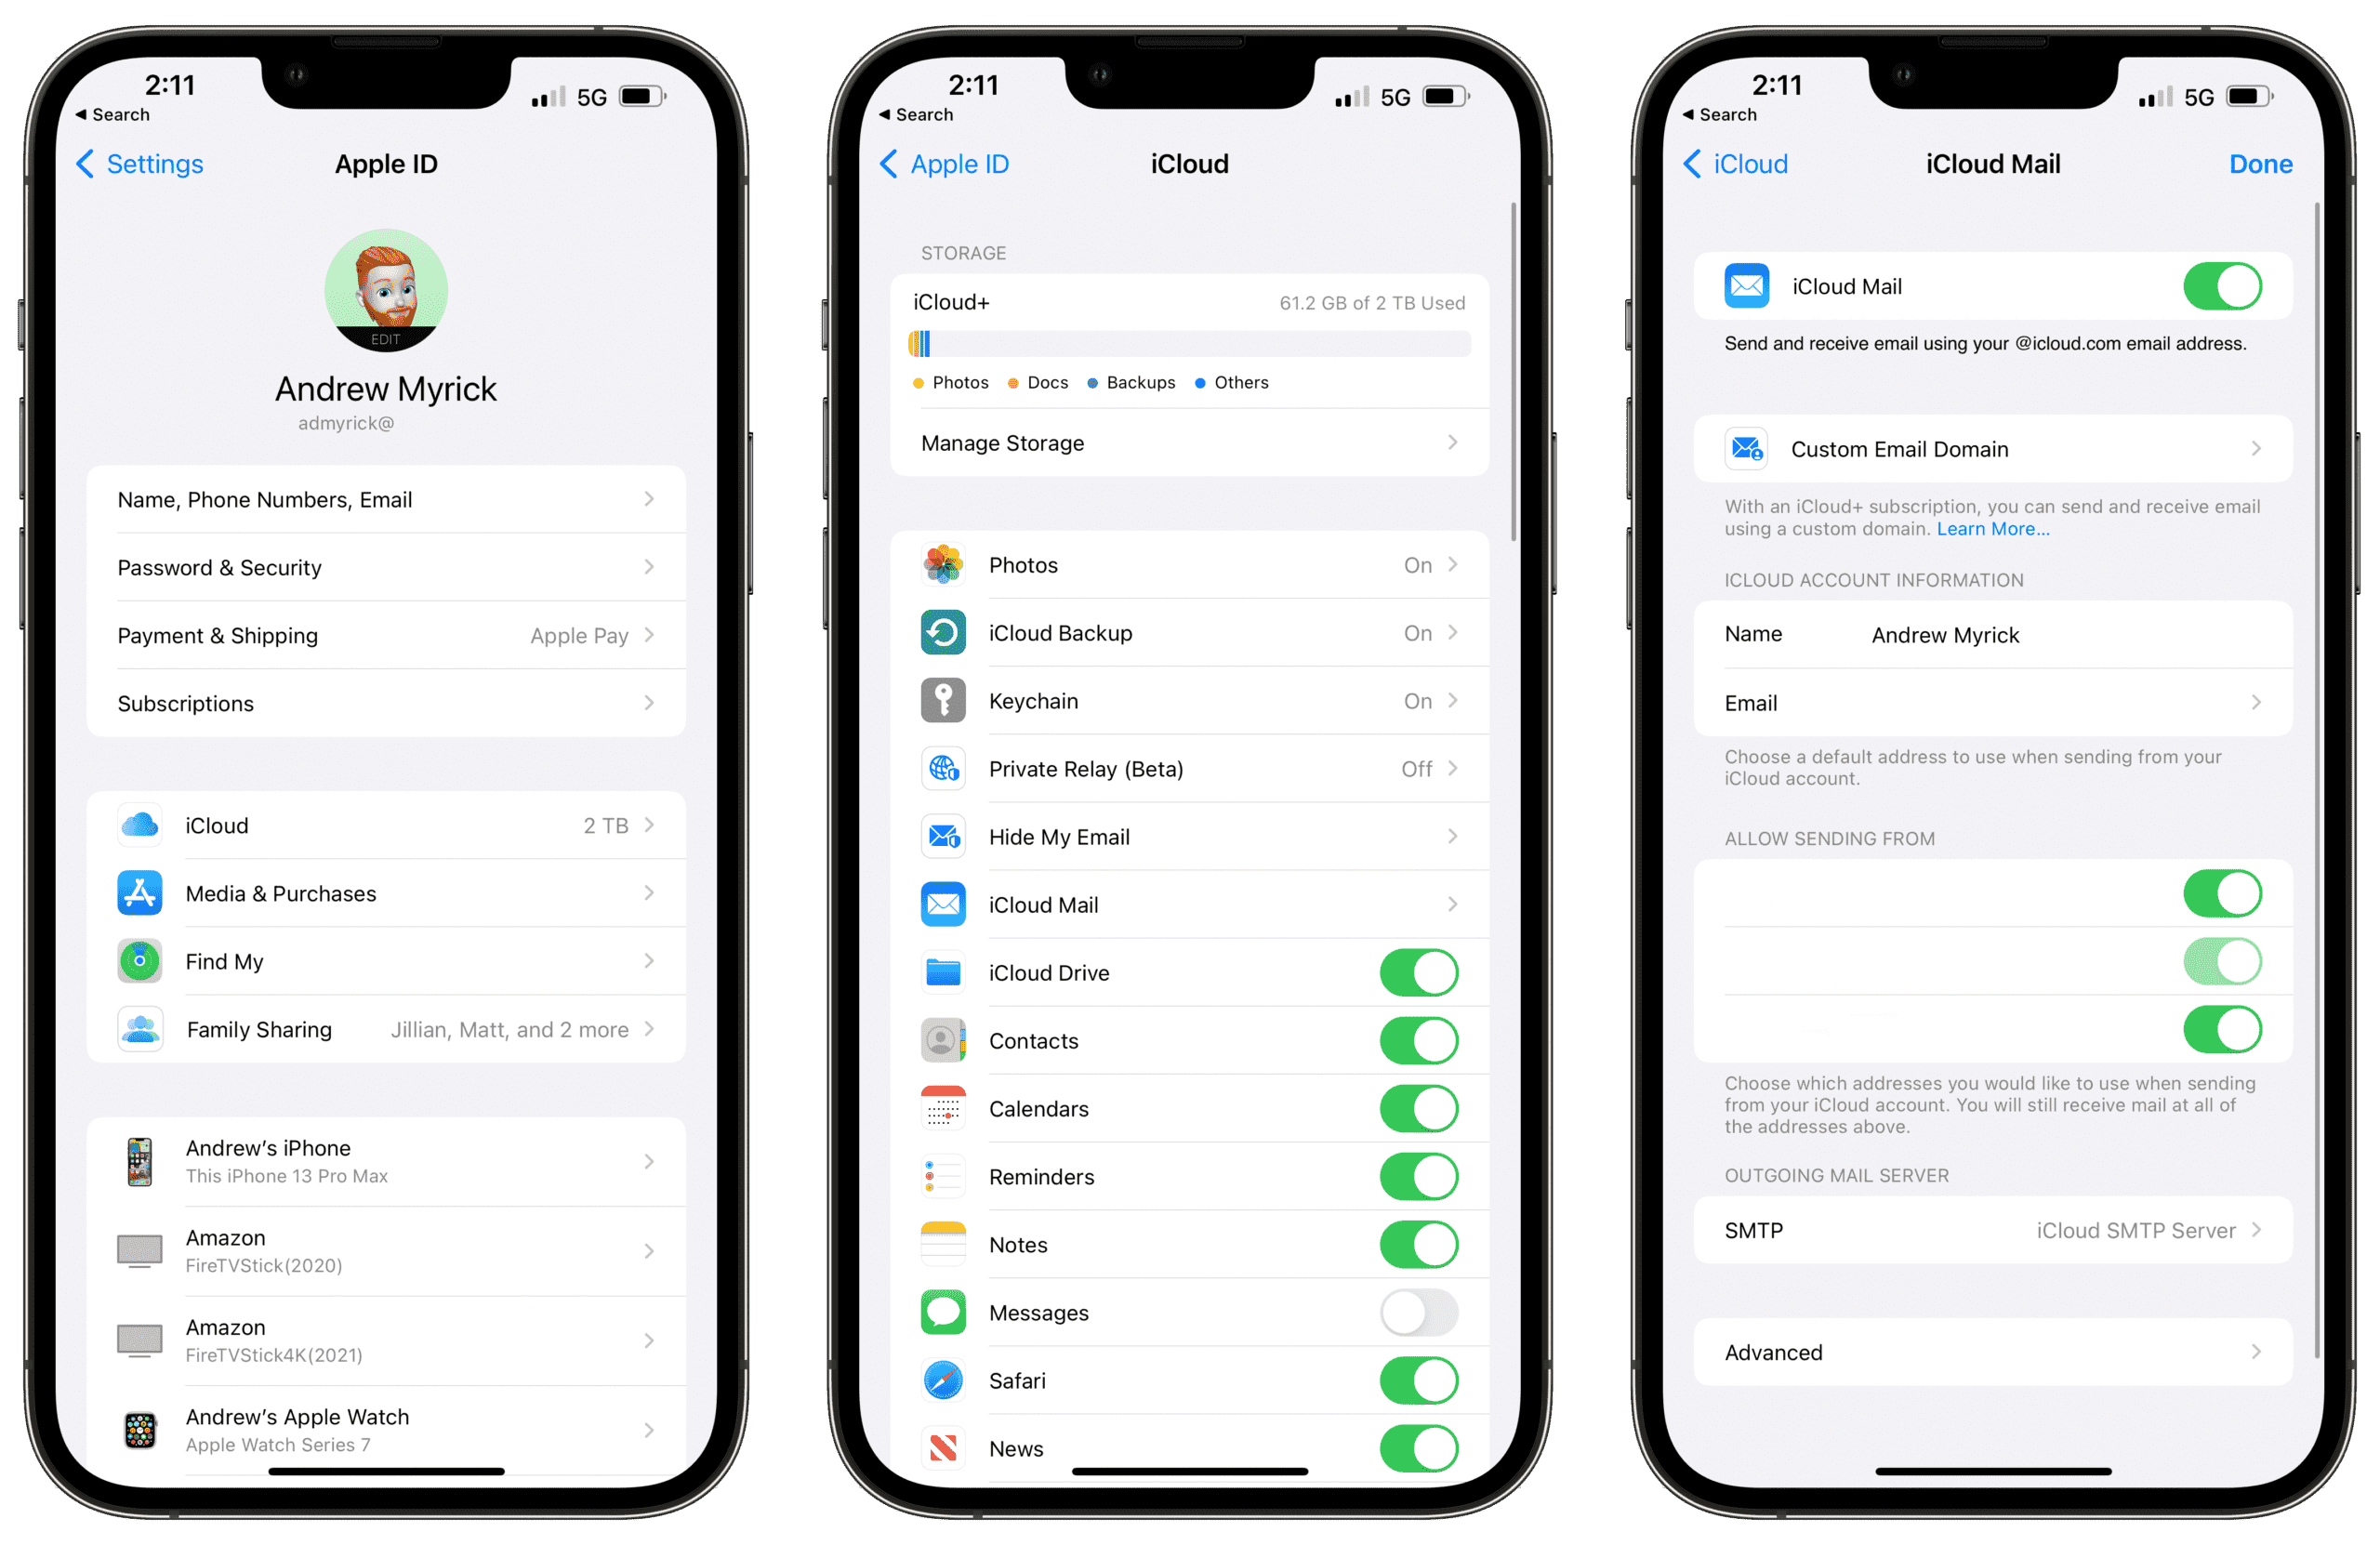
Open the Settings app on your iPhone or iPad.
Tap your name at the top of the page.
On the Apple ID page, tap iCloud.
Tap iCloud Mail.
Tap Custom Email Domain.
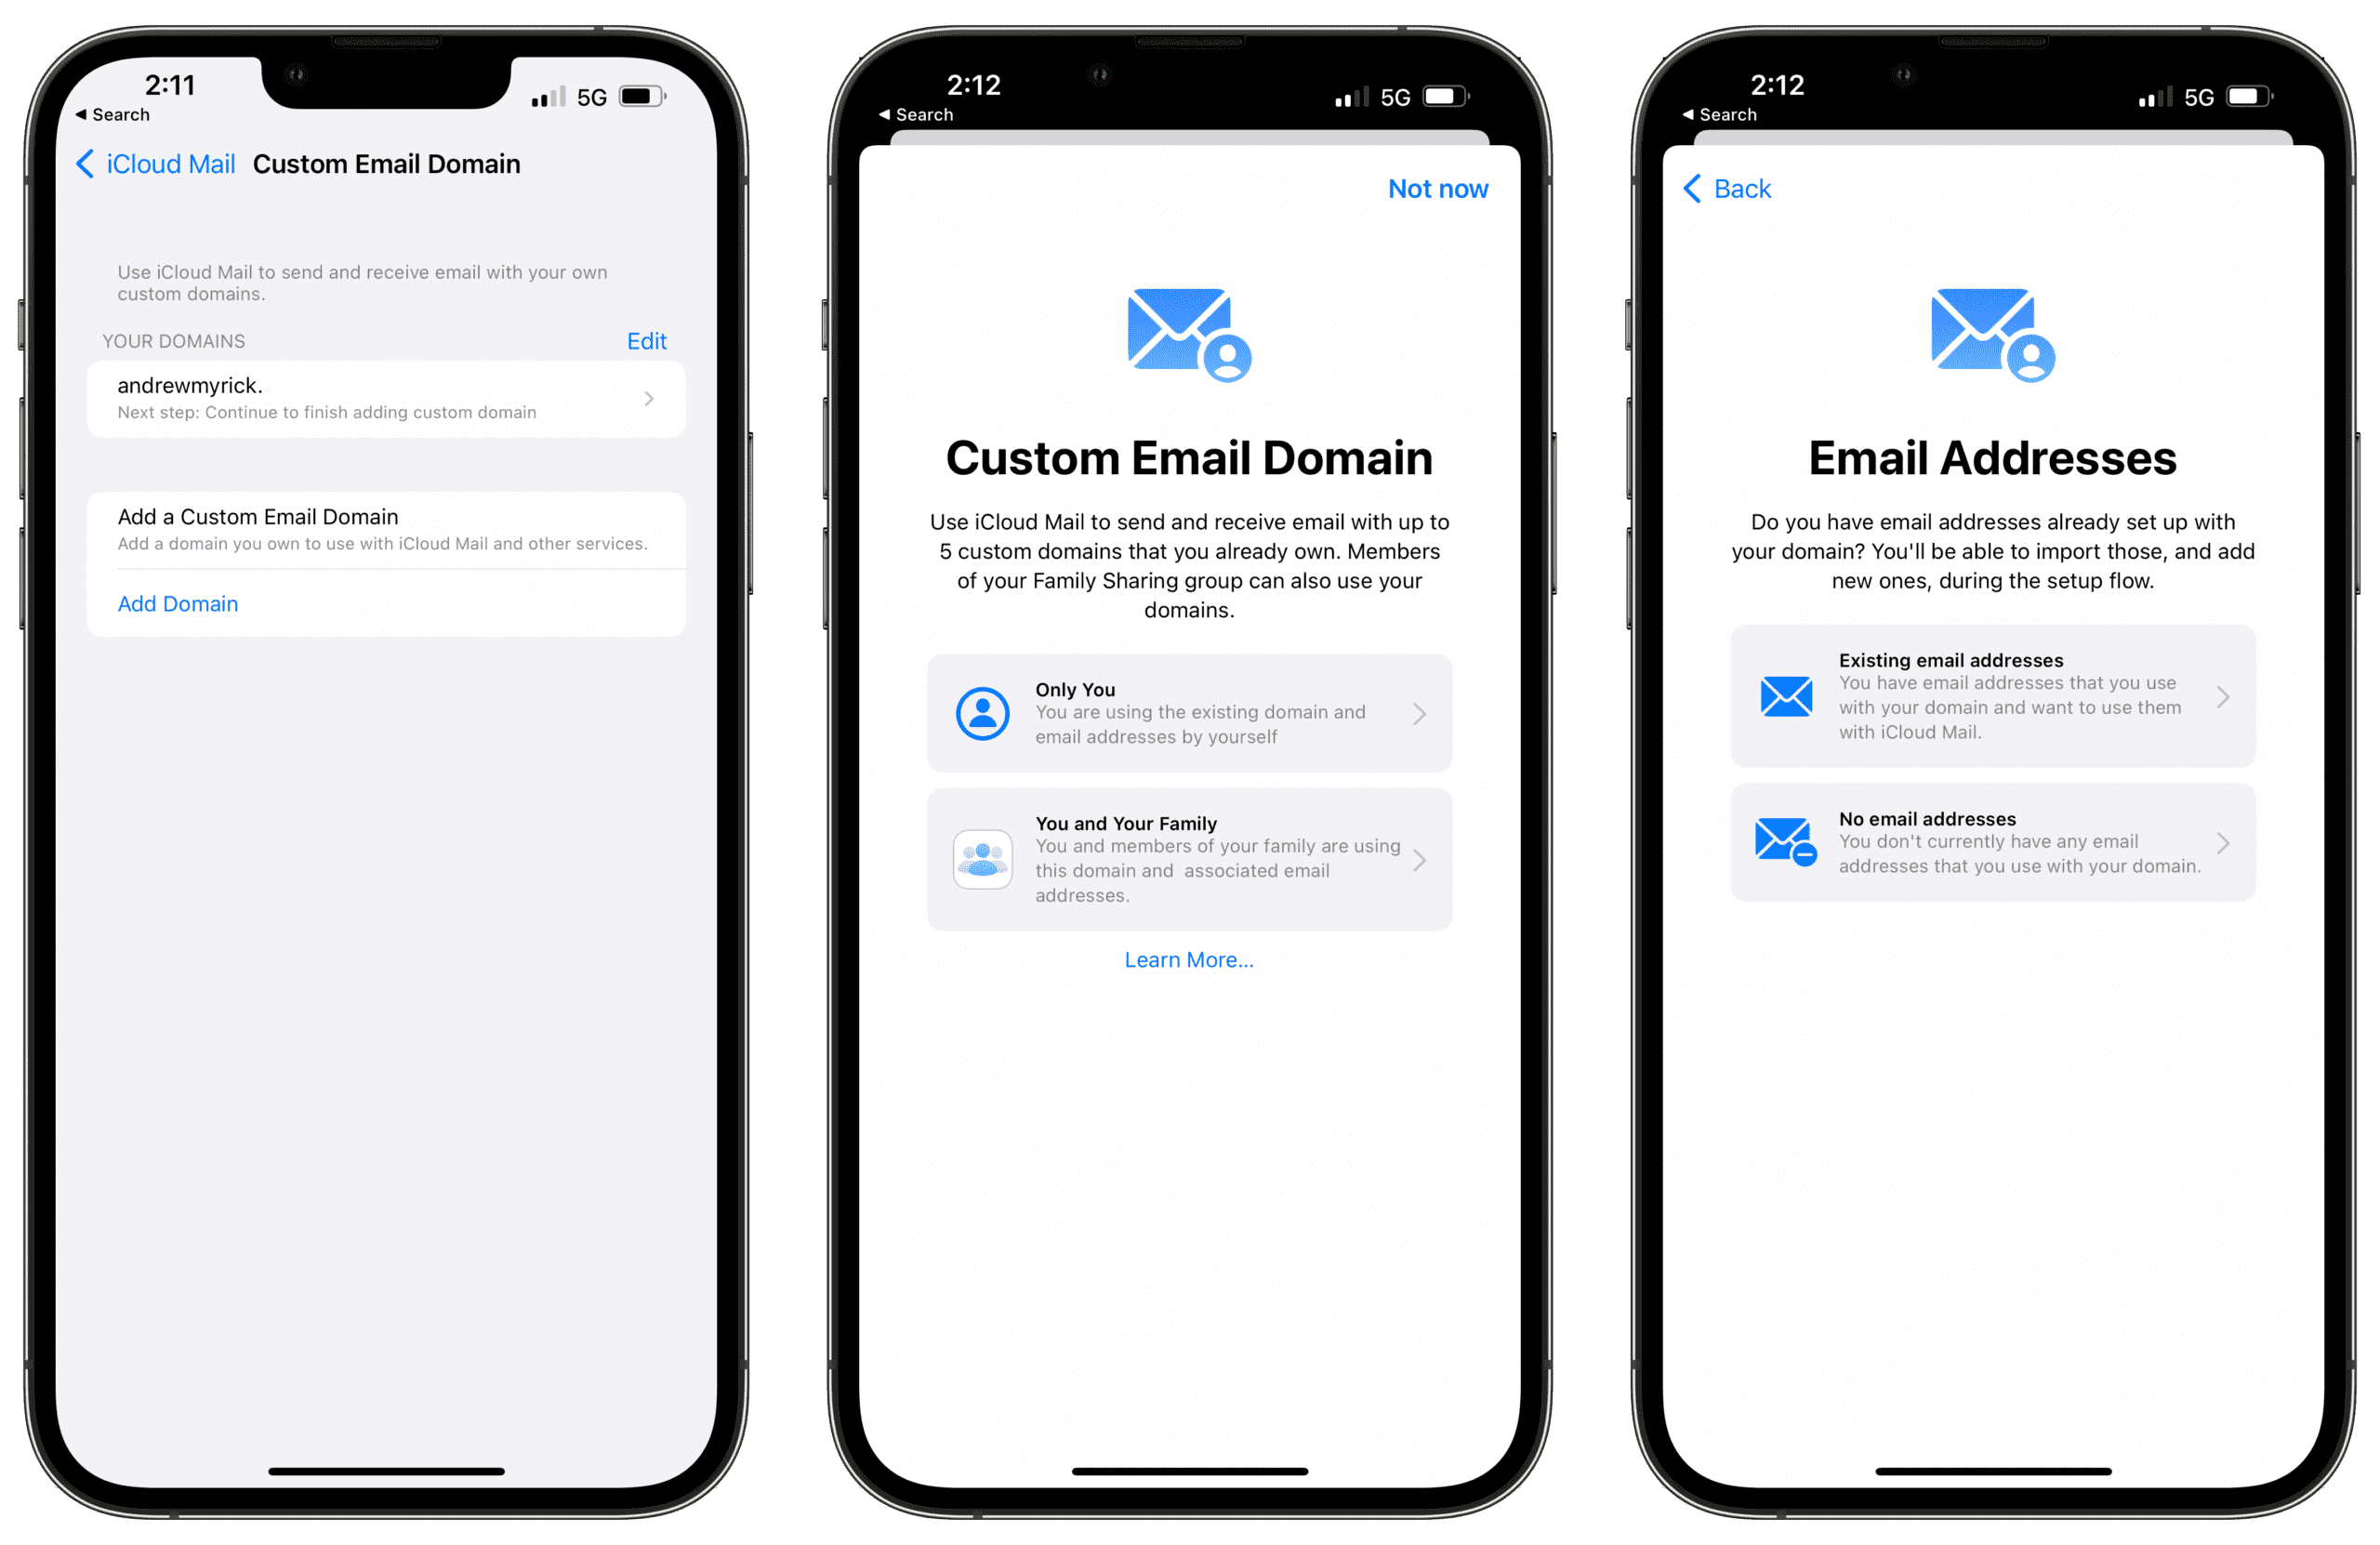
Select Add a Custom Email Domain.
Select one of the following:
Only You
You and Your Family
Select one of the following:
Existing email addresses – You have email addresses that you use with your domain and want to use them with iCloud Mail.
No email addresses – You don’t currently have any email addresses that you use with your domain.
Enter the domain that you want to use with iCloud Mail.
Tap Continue in the top right corner.
Follow the on-screen instructions to finish adding and setting up a custom domain.
Once the process has been completed, you’ll receive prompts notifying you that your new email address is also available to be used with iMessage and FaceTime. This is normal, as it’s all tied to the iCloud service itself, and is already available with your existing Apple ID and iCloud emails.
How To Remove a Custom Domain
It should come as no surprise, but Apple has also made it possible for you to remove the custom email domains after they have been set up. There can be a myriad of reasons as to why you might want to stop using a custom domain. But if you need to, here’s how you can remove a custom domain from iCloud Mail:
Navigate to iCloud.com from your browser of choice.
Log in with your Apple ID information.
Click Account Settings near the top of the page.
Scroll down and click Manage under Custom Email Domain.
Select the domain that you want to stop using.
Scroll to the bottom of the page and click the Stop using this domain button.
Follow the on-screen instructions to finish removing the custom domain.
As expected, after you remove the custom email domain, you will no longer be able to send or receive emails for any of the addresses in iCloud Mail. Additionally, if you have family members who are using the domain, they will no longer be able to send or receive emails from that account.
Andrew Myrick is a freelance writer based on the East Coast of the US. He enjoys everything to do with technology, including tablets, smartphones, and everything in between. Perhaps his favorite past-time is having a never-ending supply of different keyboards and gaming handhelds that end up collecting more dust than the consoles that are being emulated.


Write a Comment